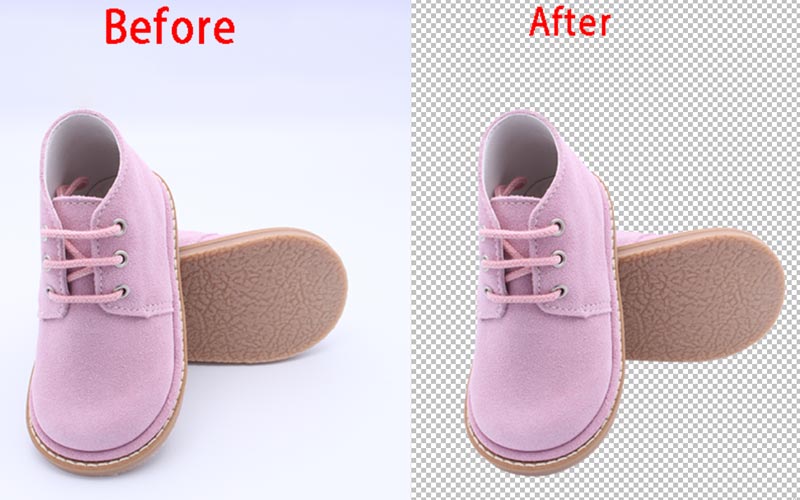
Background Remove
Posted on 1 year, 1 month ago"Background Remove" is a powerful image editing technique that isolates the main subject of a photograph by eliminating its background. This process enhances the visual focus on the subject, creating a clean, distraction-free image. Ideal for e-commerce, marketing materials, and personal projects, background removal ensures that the subject stands out clearly, whether for a professional product showcase, a polished profile picture, or a creative composite. By meticulously erasing or replacing the original backdrop, this technique allows for seamless integration into any desired context, providing endless possibilities for visual storytelling and design.
How It Works
Background removal works through a series of precise steps that utilize advanced tools and techniques to isolate the main subject from its background. Here’s a detailed breakdown of how it typically works:
Image Selection:
- Start by choosing the image from which you want to remove the background.
Manual or Automated Detection:
- Manual Tools: Use selection tools like the lasso, magic wand, or pen tool to outline the subject manually. This method gives you more control over intricate edges and details.
- Automated Tools: Utilize AI-powered software or apps that automatically detect and select the subject using machine learning algorithms. These tools analyze the image to differentiate between the subject and the background.
Refinement:
- Edge Refinement: Adjust the edges of the selection to ensure they are smooth and accurately follow the subject’s contours. Tools like "Refine Edge" or "Feather" help to blend the edges naturally.
- Masking: Create a mask based on the selection. This mask allows you to hide or reveal parts of the image non-destructively, enabling further adjustments without losing original data.
Background Removal:
- Delete or Hide: Once the subject is selected and refined, the background can be deleted or hidden. In some cases, the background is simply masked out rather than deleted, allowing for easy restoration if needed.
- Layering: The subject can be placed on a new layer, making it easier to manipulate the background separately.
Adding New Background (Optional):
- Replacement: After removing the original background, you can add a new one. This can be a solid color, a gradient, another image, or a transparent background, depending on the intended use.
Final Touches:
- Adjustments: Make any necessary color, lighting, or contrast adjustments to ensure the subject blends seamlessly with the new background.
- Cleanup: Zoom in to inspect the edges and clean up any remaining unwanted pixels or artifacts to achieve a polished look.
Export:
- Save the edited image in the desired format, ensuring it maintains high quality for its intended use, whether for web, print, or digital media.
By following these steps, background removal transforms images, making them versatile for various creative and professional applications.